Assessment Overrides
Overrides allow you to account for unexpected events, such as granting an extension for special considerations or implementing different exam scenarios for ELP students.
Creating an override
Creating an override is a two-step process: defining a preset and then applying it to specific students or assessments.
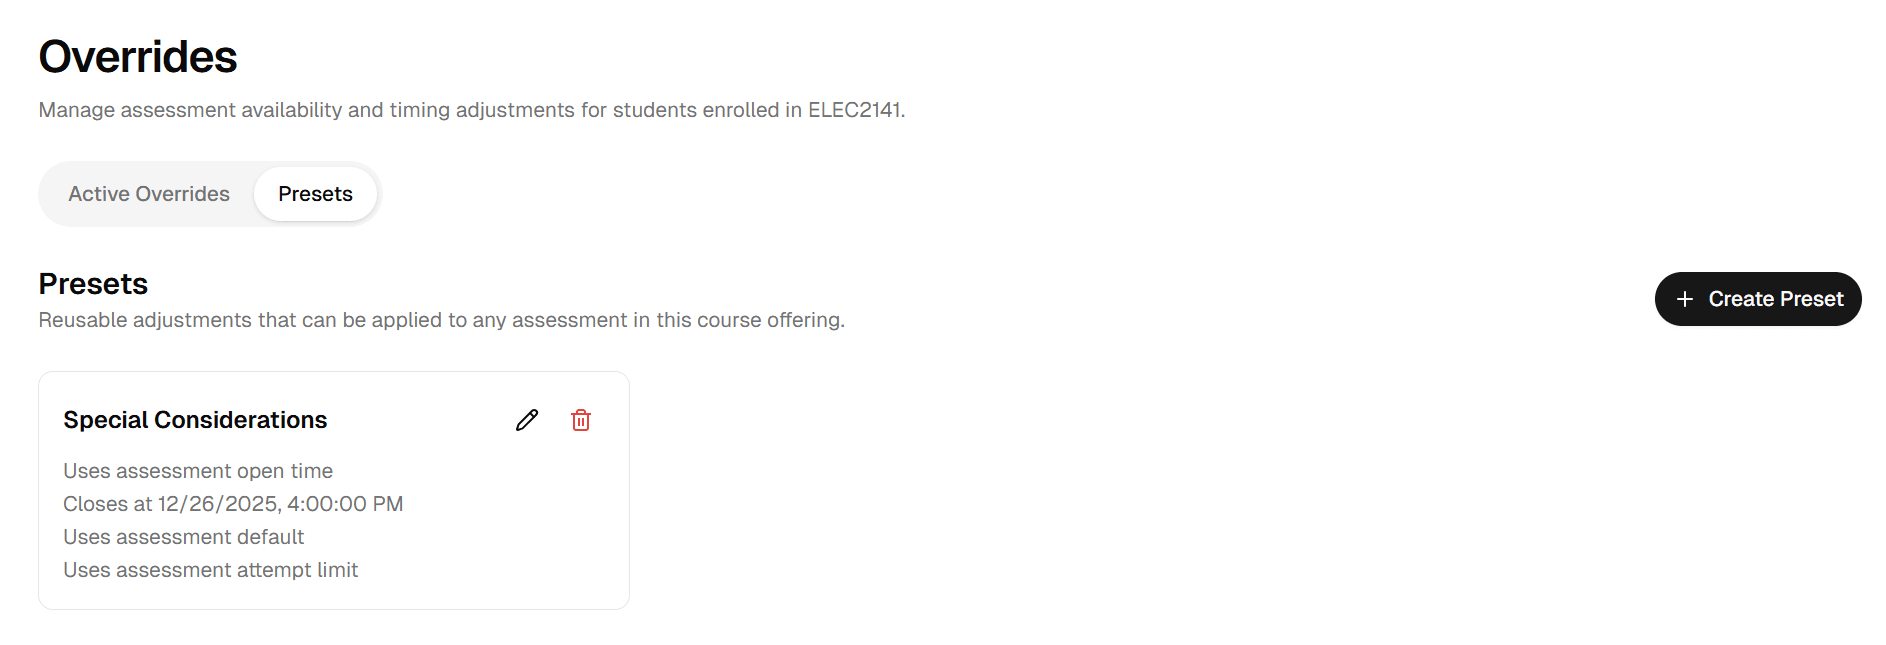
1. Create a preset
Navigate to the Presets tab. This view displays all configurations you have saved for the course. Click Create Preset to open the sidebar.
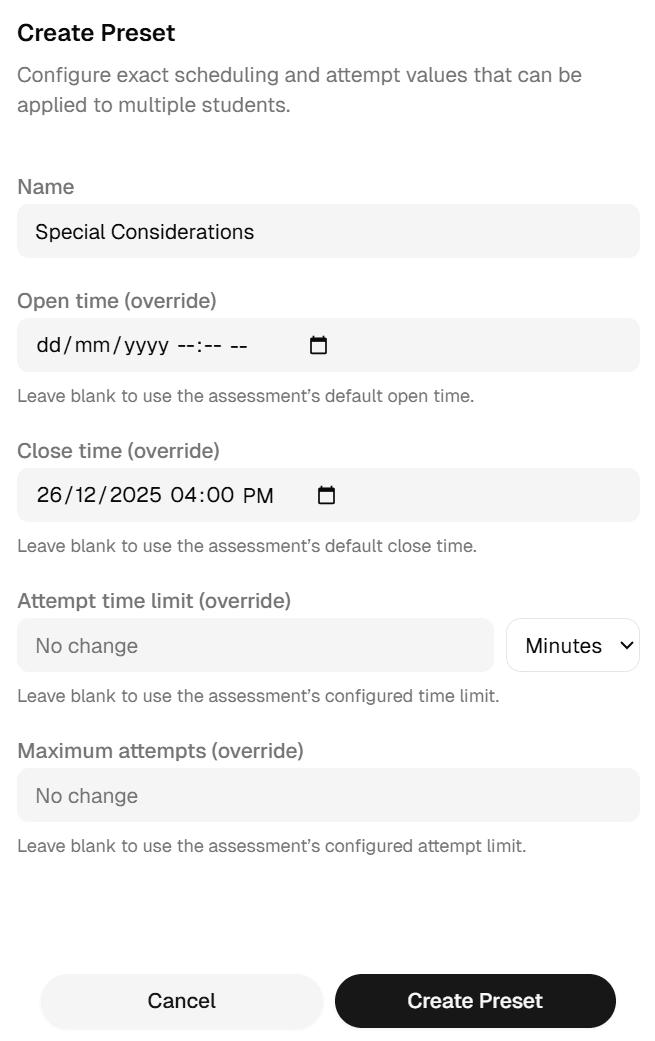
In the creation sidebar, give your preset a clear name (e.g. "Extra Time 50%") and define the adjustment parameters such as extra duration or shifted open/close times.
2. Apply the preset
Switch back to the Active Overrides tab. This table shows every override currently in effect for your students. To apply your new preset, click Apply Preset and select the students and assessment(s) you wish to modify.
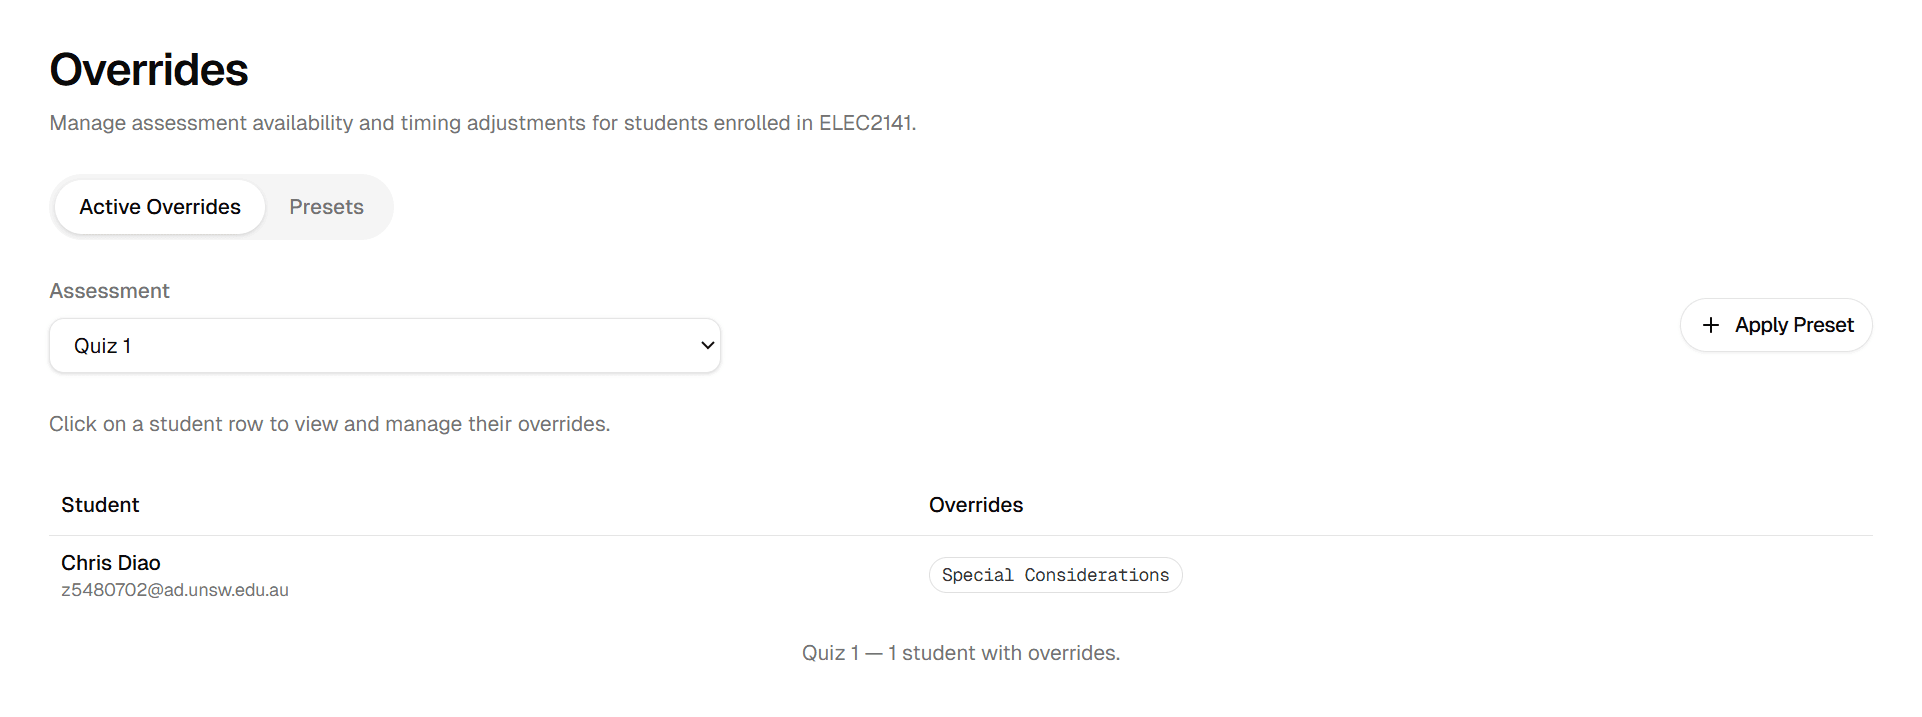
A confirmation pop-up will appear. Review your selection and confirm to instantly apply the changes.
